
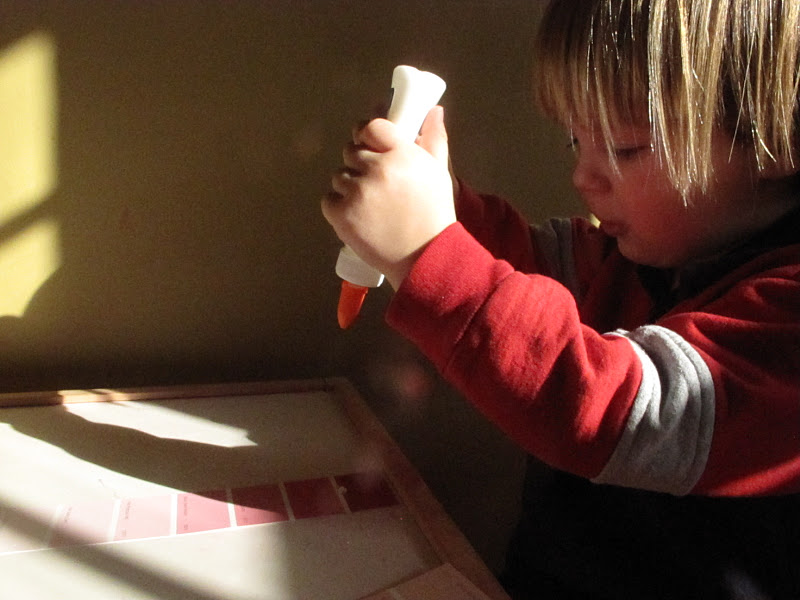
I had grabbed a few paint samples the last time I was at Walmart. (Side note: I probably should have asked if they had any discontinued paint chips I could have, rather than just taking a few of each color. My kids ask for paint samples every. single. time. we got to Walmart, and they never seem to care, so I didn't think of it. But it's probably good to ask, and don't ever clean them out.)

 So, I've been looking for some colorful uses for them. We've already done Christmas trees, which are DARLING. Then I saw a pin for these turkeys, and knew what our next craft would be.
(Okay, so they're peacocks, not turkeys. Close enough. You could add a red waggle to make them more turkey-like.)
 I painted a paper towel tube a couple of days ago and let it dry. You could have your kids do that part, but it will take a while to dry. You could also glue scrapbook paper to the tube; how cute would that be? Anyway, we started with two painted tubes (I cut the paper towel tube in half.)
Fan out the paint samples; glue the layers of samples together at the bottom.
Run a line of glue on the back of the paper tube. Glue it to your "feathers."
Add a beak and some google eyes, and you're done!
 Lily insisted that hers needed a pink tutu, so there you go. :)


